TheDreamTeam_Logo_Hor_WHITE

The capacity to learn is a gift …The ability to learn is a skill … The willingness to learn is a choice.

Getting Set Up For Business

Congratulations!

You've Made it to the Inside!

You are now part of our community.
You now have access to all of our resources, systems, and people.
The information this MEMBER’S ONLY site is CONFIDENTIAL.
NEVER share any of our content in any shape or fashion.

This site is where we store all of our resources.  It’s constantly being updated, so be sure to check back often.  Take a quick look around to see where things are and what’s available.  

When you start your training, make sure that you’re not skipping steps – EVER.

This is the one single, central source for information for our members.  It is constantly being updated and having content added to it.  As you build your team, you need to know what’s on here – so that you can help them grow their business.  So once you’re up and running – keep checking back in to see what’s new.

And please remember: 

Sometimes when we think of everything we have to do, we might feel overwhelmed…. BUT if we focus instead on doing the one thing we need to do at the time, we feel like we’re making progress.


How To Use Flock

Some people like to ask for post engagement. This is a choice, not a necessity. It is advisable to build organic engagement. (Having too much Dream Team support only tells the Facebook algorithm to show your content to them, as opposed to a new audience!)
 
If you decide to solicit engagement, we encourage the following methods:
 
· Ask in your coaches team chats or groups.
· Ask your friends and family to support your new page.
· After your Facebook page is aged with daily content 3x a day for the minimum time frame outlined in future training tabs, you can run an Engagement Campaign for more followers.
 
Never request business page likes, post or seasoning (Likes, Comments, etc), in any Flock chat, other than a chat that is designed only for that purpose. Never message someone privately in Flock, Facebook Messenger, or any other platform, to request engagement.

WARNING: Dropping a link in a Flock chat with an unrelated purpose is grounds for immediate removal from that chat.

NOTE – Instead of a Buyer/Announcement Group, you will get an email to tell you that you have a buyer. Do not reply to these emails as it will overflow our customer service inbox. Instead, contact your buyer using the info in Section: Running Your Business > What to Do When You Get a Buyer.
NOTE – Be sure to join some of the groups that are available in Flock.  You can find them by clicking on the Directory button in the right panel of the Flock app. For example, we have a group for people who are 50+, for people who live in various locations, for people who speak specific languages, etc. Please don’t ask to join other coach’s chats as they already have their own people to look after.
 
If you need a spouse/partner added as well, please submit a “System Request”. Include your own information, as well as the Full Name, Email Address and personal Facebook link of your spouse/partner.
NOTE – When you become a coach, you will create a group chat in Flock for your team members. To keep your team chat all in one place with full capacity to expand, simply create a “Chat” for your team and name the chat as you wish. You have all the features, and more, for free, with the Dream Team Flock channel. (Flock offers the option to create your own channel, however we advise you NOT to create a separate channel of your own because when your team grows, Flock will eventually ask you to pay for its service. This is because the free service has a limited number of participants. If you reach that level, and decide not to pay, then you won’t be able to add team members, and when you close the chat, you will lose all the conversation history.)  

Important Flock Rule:


Every Flock chat has a very specific purpose. It is important that all comments and questions in each chat remains on topic with that specific chat in order for us to serve one another efficiently. Always be mindful and respectful of the chat purpose.

How To Add Flock on a New Device

How to Navigate Flock

What to do if you are logged out of Flock on a desktop computer:

 
Step 1: In your browser, go to https://web.flock.com/
 
Step 2: Enter your email address in the box (this must be the email address you used to create your Flock profile with)
 
Step 3: Click the green button “Login or Create Team”
 
Step 4: In the new window, enter your password in the box
 
Step 5: Click the green button “Login”
 

Choosing Your Domain and Email

How To Create Your GoDaddy Account

Purchase your own domain.
Please do not choose any variations of www.frankietrees.com

How To Change Your DNS Setting

IMPORTANT:
This video will guild you through how to set up your DNS setting within your GoDaddy Account. You must complete the steps below to prevent delays during your funnel process.

 
1. Log in to your Godaddy account.
2. Find your domain and edit the DNS zone.
3. In the list of records, locate the A record and the CNAME record with the www value and edit them.

Value for “A” record for @ – 174.129.25.170 
Value for “cname” record for www – cname.landingi.com
 
NOTE:  If IP address or the CNAME doesn’t work or says ‘Invalid” when you copy/paste, then simply just type it in.

Setting Up Email on Your Phone/Computer

These links will take you to the GoDaddy site to help you setup your Email Essentials package on your phone and computer (yes, do both).

The first thing to do is to make posts on your page 3 times daily. Continue the training for posting tips.

Email On Your Phone / Tablet
Email On Your Computer

Plan Out Your Sales Funnel

Every Dream Team business owner gets a standard Sales Funnel. That includes a landing page (also known as a lander) where prospects will sign-up for the webinar. There are several templates to choose from. Your next steps are to choose your landing page / lander style and gather some specific information so that our team can build your funnel.
 
 
Read the information below to understand what a sales funnel is, then follow along with the videos for creating your own funnel.
 
A sales funnel consists of several parts:  
 
Landing Page – Where your leads register for more information by providing their name and email. Part of your setup will be to buy a domain – a landing page is the first page that someone will see on that domain once your funnel is built. This link should be the only link you ever use – because if your leads don’t register on your funnel they won’t be tracked as your leads – and someone else will get them when they buy in.
 
Thank You Page – Immediately after being registered on the landing page, leads are taken to this page, where they can watch a replay of the webinar, get your email to add to their contacts, and your personal Facebook profile link to add you on Facebook. These last two steps are important because we want to make sure that they get your automatic email campaign to their inbox – and you can invite them to like your Facebook Business page.
 
Automatic Email Campaign – This is a series of emails that our system will send to all of your leads on your behalf. It is not necessary for you to email your leads because the system does it for you. We recommend that you communicate with your leads through Facebook messenger instead.
 
The emails come from your business email address and are signed with your name. Leads will get these emails for about 1.5 months after registering on your landing
page. The emails not only invite leads to the live webinar – they also provide insight and information into social media advertising – as well as provide a link for people to take the next step when they’re ready – buying the $149 package.
 
 
You should register on your landing page with multiple emails (i.e. Gmail, Yahoo, Hotmail, Outlook, etc.) – so that you get these automatic emails to your inboxes. Then be sure to open them all. This helps your email inbox with those providers.
 
NEVER UNSUBSCRIBE YOURSELF FROM YOUR OWN EMAILS.
 

The first thing to do is select a landing page template from the ones shown below:

Note: We strongly recommend that you use a standard landing page we provide for at least a couple of months. We’ve created these in order to make the start-up process easier for you, and because they generally work the best.
 
If after some time, after gaining some experience in your business, you want to make some updates/changes on your landing page, or you want a new landing page for your
funnel, custom-designed by you, that option is available to you. There are online forms to complete and fees will incur. 
 
Choosing a lander must be specified in the New Funnel Form prior to the build.
 
 
The Landing Page:
Below are our current landers available.
The description for the landers are below the Lander.
Including the lander names and links to a demo of the Lander.
Please be sure to use your phone to check the mobile view of your chosen lander.

These new landers offer us a personal touch and will make us more individualized.
You may update the text, color, pictures after your funnel has been built to even further customize your lander AFTER your funnel has been built.

Each template can be used as a Normal Funnel or an Incruise funnel by selecting the funnel type in your funnel request form,
Lander 2022-01C
Click the link below for a live view of the lander.
 
Lander 2022-01D
Click the link below for a live view of the lander.
 
Lander 2022-03A
Click the link below for a live view of the lander.
 
Lander 2022-03B
Click the link below for a live view of the lander.
 
Lander 2022-03C
Click the link below for a live view of the lander.
 
Lander 2022-05A
Click the link below for a live view of the lander.
 
Lander 2022-05B
Click the link below for a live view of the lander.
 
Lander 2022-05C
Click the link below for a live view of the lander.
 
Lander 2022-06C
Click the link below for a live view of the lander.
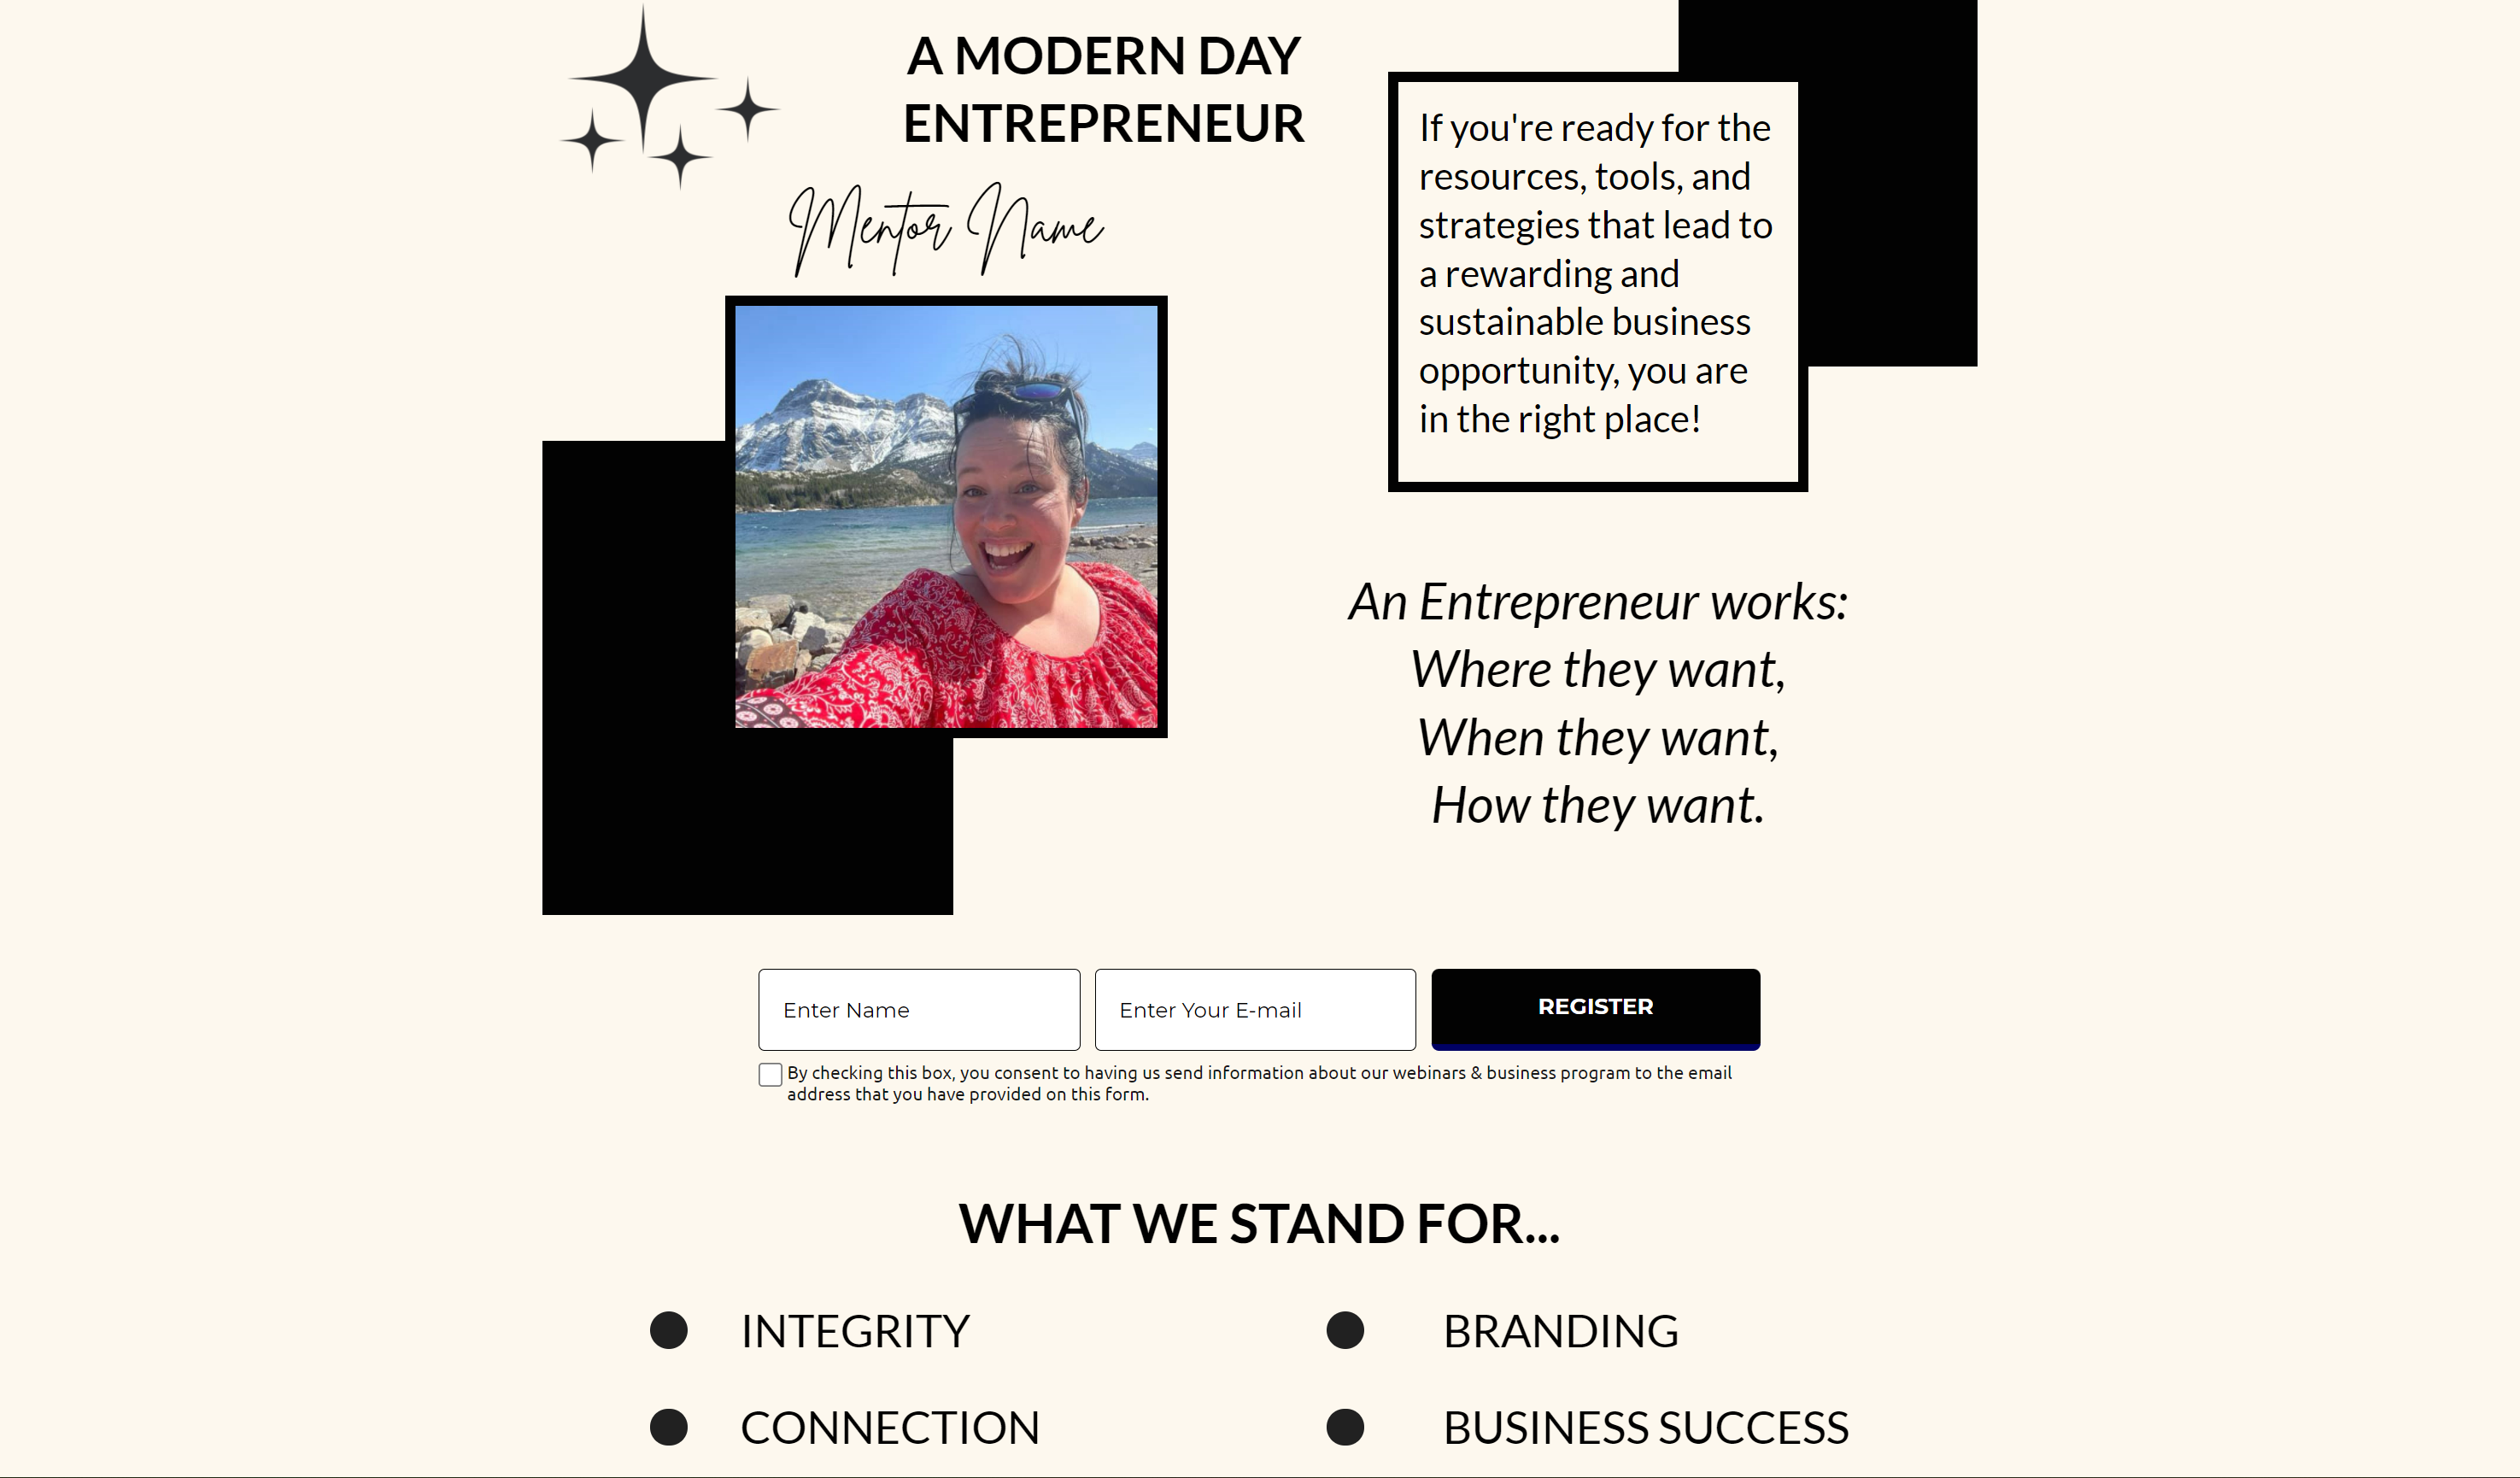
Please note this lander does not include a profile picture.
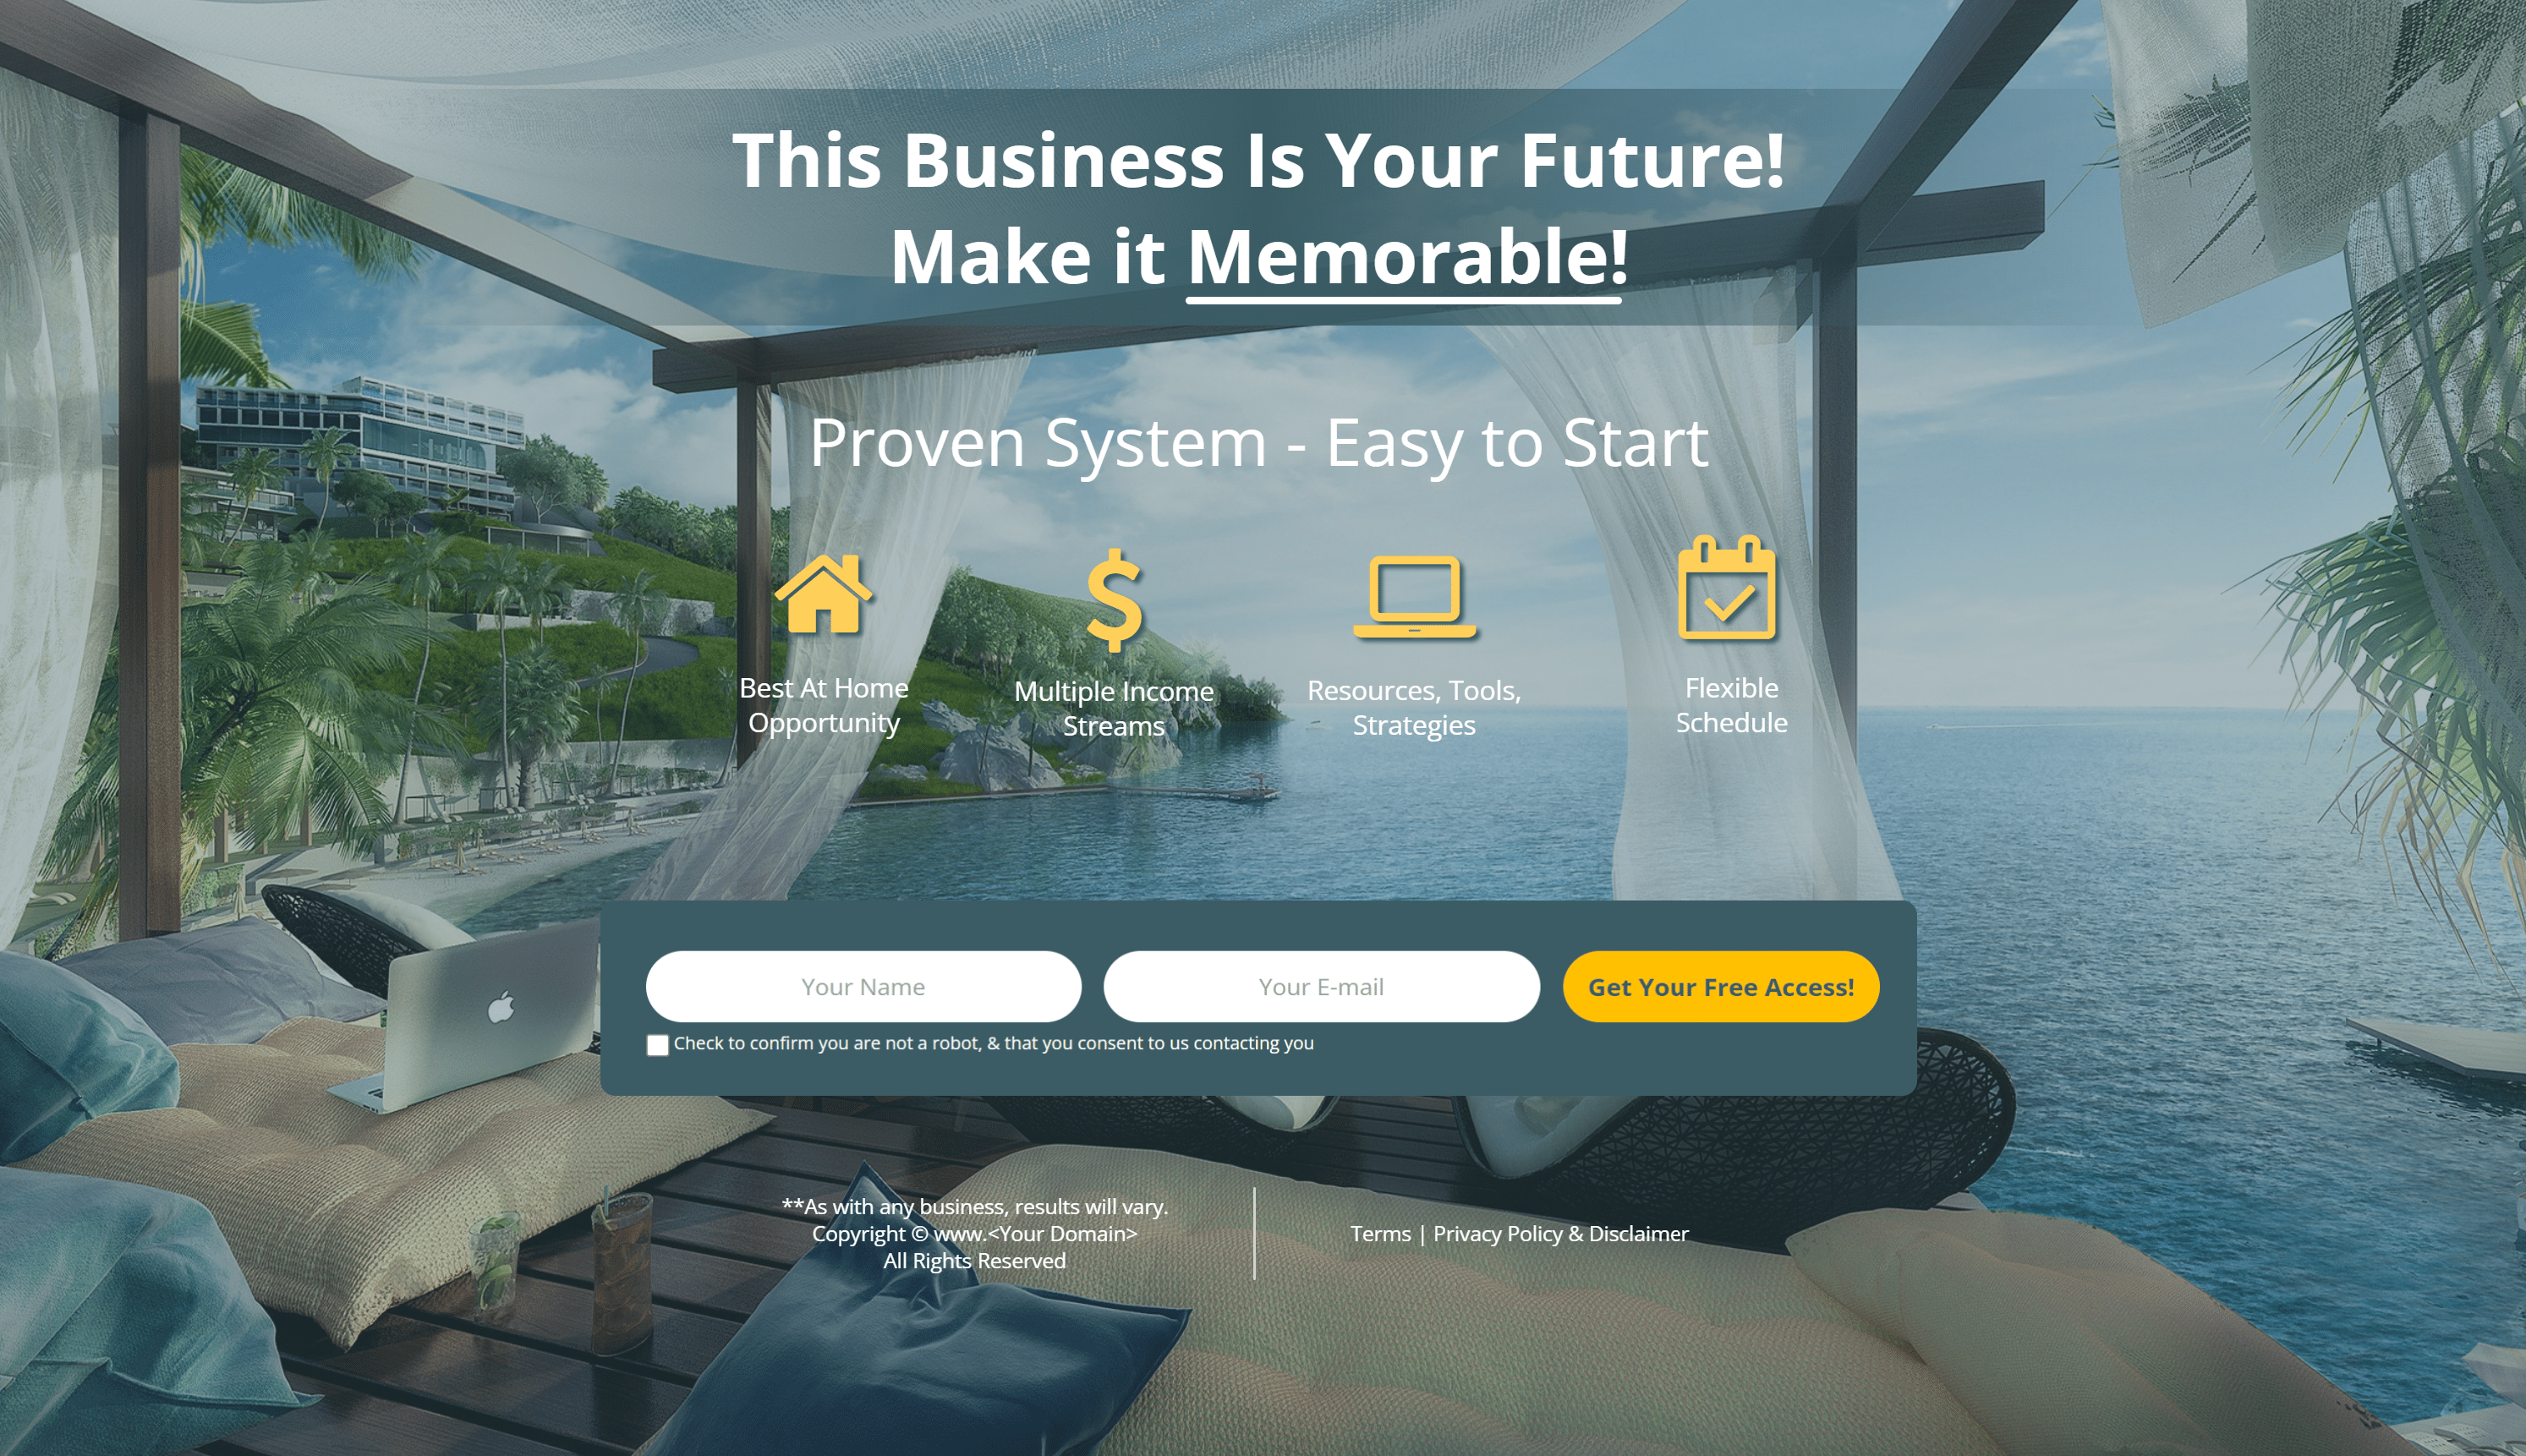
 
Lander 2022-06D
Click the link below for a live view of the lander.
Please note this lander does not include a profile picture.
 
The Thank You Page:
After a lead registers on your landing page, they are taken to the above page.  As you can see – it tells them what to expect and do next.  We are going to email them with an invite to the live webinar – but if they don’t want to wait – they can watch the most recent webinar on this page.

Thank you page may vary depend on the lander but the information should be in all of them.

Steps to Create Your Sales Funnel

Checklist – What to Expect During Your Funnel Process

How To Take a Funnel Profile Picture

How To Choose a Good Background Photo

How to submit your “New Funnel” request

How To Proof Your Funnel

Before submitting your Funnel Feedback Form, make sure that you have followed the above video carefully, and complete all the steps described.
 
Step 1: Verify landing page details.
Step 2: Verify that the sign-up function is working. (Please be sure to use a new email for every registration forms on you page)
Step 3: Test the webinar replay.
Step 4: Test all links.

Timestamps:
0:35 Where to find your Funnel that is ready for proofing.
1:00 Checking details on your landing page.
7:18 Funnel Testing Feedback Form.
 
Manage and Update Your Funnel
Important: Please be sure to update your funnel information using the “Admin System” in the “Manage My Funnel Info” tab before sending in a funnel update form to the funnel team.  Once the funnel team receives your funnel update, It will be assigned and updated within 24 hours after the payment for the update has been made.
Note: Updating your “Manage My Funnel Info” tab alone will not update your funnel, You must send in a funnel update form to complete your update. The funnel team will not update your funnel unless you have updated your “Manage My Funnel Info” tab to reflect the requested update.

Always keep your funnel details up-to-date in the Admin System. Watch this video to find out how.

If you have an existing funnel, and would like to make some changes to it, follow the steps in these 2 videos.

Enagic Distributor Support Portal - Sales Report

Setting Up Login to the Enagic Distributor Support Portal